COMP0035 Tutorial 1: Intro to using Git and GitHub for COMP0035
You must have completed the following before attending the tutorial. There will not be sufficient time to do this in the session:
- Have installed:
- Python
- Git
- a Python IDE (Visual Studio Code or PyCharm Professional are preferred)
- Have configured your IDE to use your installed version of Python.
- Have created a GitHub account.
Introduction
This session introduces you to using Git, GitHub and GitHub Classroom. The learning objective is that you should have just sufficient knowledge to start using these for your coursework project.
It will not be sufficient to teach you the full use of Git, GitHub and their integration with your chosen code editor or IDE. There are also video tutorials and guides in the Reading List for week 1. The best way to learn is to keep using Git and GitHub throughout the COMP0035 and COMP0034 projects.
You can work with GitHub using a git command line from a terminal; directly on GitHub.com or using any number of source code control software. In COMP0034 and COMP0035 it is assumed you will mostly work with GitHub using your IDE (VS Code, PyCharm etc.) so this tutorial focuses on this method.
There are different ways to create a GitHub repository including:
- Create a new empty repository directly on GitHub.com
- Accept an assignment from GitHub classroom
- Push existing code from a project on your computer to GitHub
- Fork an existing GitHub repository
Methods 3 and 4 are not covered in this tutorial. There is guidance available in your IDE (PyCharm, VS Code) and on
GitHub. Fork will be introduced later in the course when you copy course repositories to accompany teaching materials.
Contents
Note: The screenshots in the following pages provide a guide but often will not exactly match your screen. They show various repositories (not necessarily those in the instructions); and the interfaces to GitHub, PyCharm and VSCode are likely to vary over time and on different operating systems.
- Create a repository directly on GitHub (10 mins)
- Create a repository using GitHub Classroom (10 mins)
- Find a repository in GitHub (5 mins)
- Edit a file directly in GitHub (10 mins)
- Create a file directly in GitHub (5 mins)
- Integrate your IDE with your GitHub account (10 mins)
- Clone a repository in your IDE (5 mins)
- Make and push a change to the remote repository (5 mins)
- Next steps in GitHub (especially for groups)
- Sources of information
Create a new repository directly on GitHub
Instructions
Instructions are also available in the GitHub documentation.
- Login to GitHub
- Along the top menu bar of the Dashboard find the + button and use the dropdown to select New Repository.
- Alternative option: Click on your profile picture in the upper-right corner of any page, find 'Your repositories' in the drop-down menu. Then on the repositories' page find the green button marked 'New' and select it.
- Complete the following:
- Repository Name: Type a short, memorable name for your repository, e.g. "hello-world".
- Description (optional): Add a description of your repository, e.g. "My first repository on GitHub."
- Select Private: Choose a repository visibility. Private means only you or anyone you later add as a collaborator can see your repository. If you choose Public anyone can see your code. Choosing Private is expected for coursework to avoid issues with plagiarism.
- Select Add a README file
- Select Add .gitignore (start typing Python and you should find it)
- Choose a license is optional. A license tells other developers whether and how they can use your code.
- Click Create repository.
Create a repository using GitHub Classroom
For this course in addition to Git and GitHub we will also be using GitHub Classroom. GitHub Classroom provides a way for you to create repository so that it can then be accessed by yourself, your group (if in a group), the course tutor and PGTAs.
All coursework repositories for COMP0034 and COMP0035 are created using GitHub Classroom.
This creates a copy of a template repository with some starter files that you will need for the coursework.
Repositories that are created this way are stored in an organisation called ucl-comp0035, not in your personal GitHub account.
Instructions
-
Login to GitHub
-
After you login, click on this practice GitHub classroom assignment link.
-
The first time that you use GitHub classroom you need to:
- authorise your GitHub account to use GitHub Classroom
- join the organisation that owns the classroom, ucl-comp0035
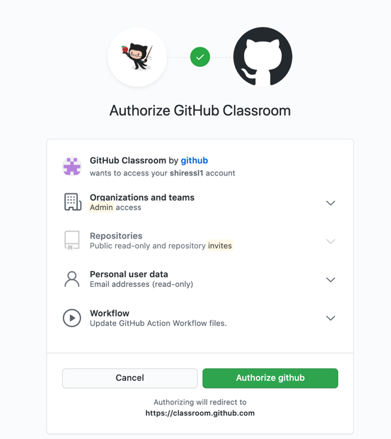
- If you see the following please authorise the classroom:
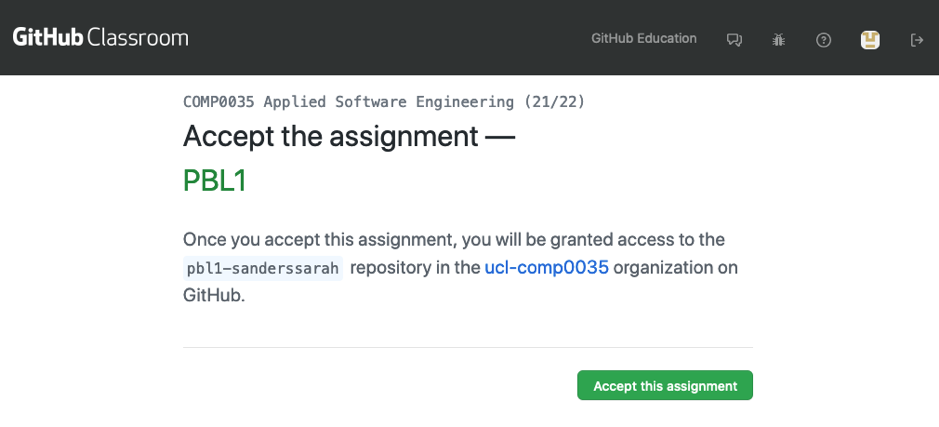
You should see something similar to the following:
-
Press ‘Accept this assignment’. It may take a minute for the repository to be created, and you will need to refresh the browser page to see when it has finished – it won’t automatically show you when it finishes!
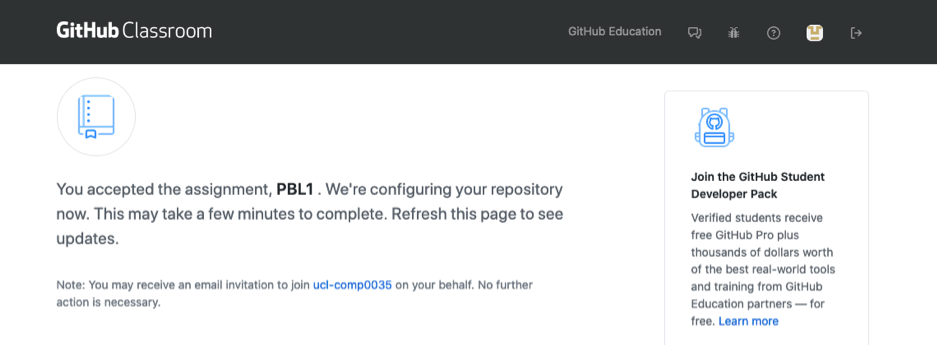
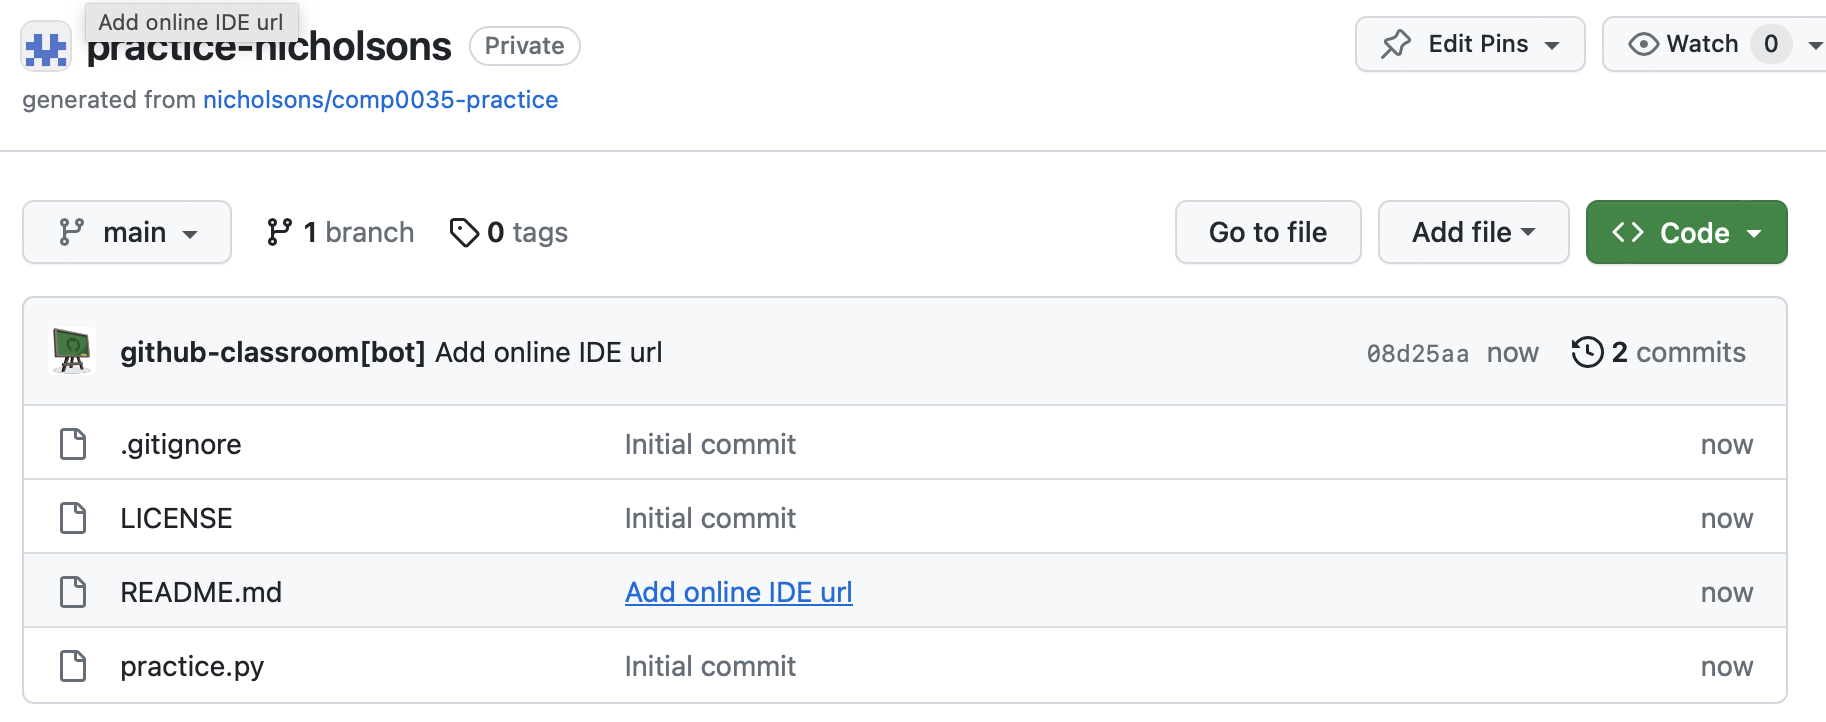
Once finished it will look something like this:
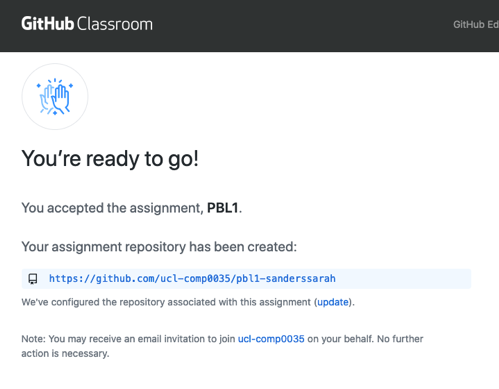
If you click on the link in the refreshed screen it should go to the newly created repository.
Find a repository in GitHub
The first repository ('hello-world') you created is in your GitHub account.
The second repository ('practice') you created is in the ucl-comp0035 organisation.
While you own both of these, where you will find them is different.
Instructions
If you are not already logged in then login in to GitHub.
-
To find the first repository in your GitHub account
- Find the menu in the top right of the view by clicking on your profile image:
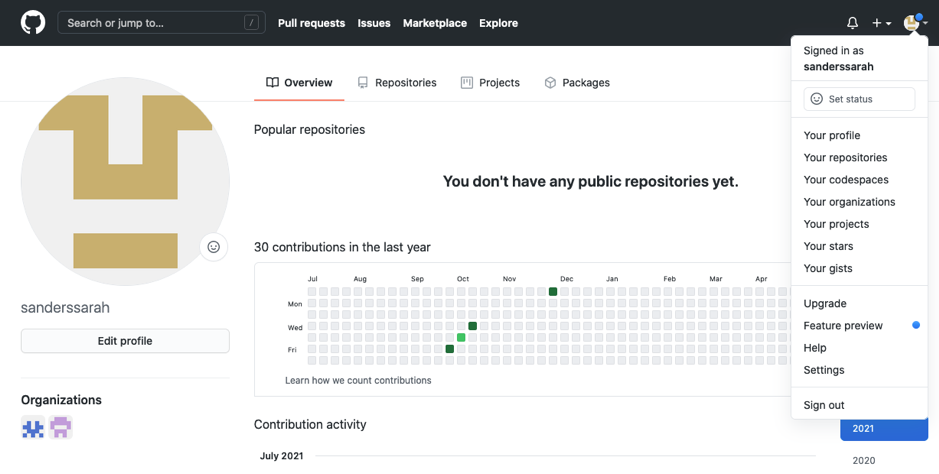
- Select Your repositories from the drop down.
You should see the 'hello-world' repo you created in the first activity. You will not see the 'practice' repo that you created in the second activity.
-
To find the second repository you created in the ucl-comp0035 organisation
- Select Your organizations and then select the ucl-comp0035 organisation.
If you don’t see Your organisations then you may be a collaborator rather than a member of the ucl-comp0035 organisation. If this is the case then go to https://github.com/ucl-comp0035 and you should see your repo listed.
Another way to access the organisation is to click on the organisation icon in the bottom left of the screenshot shown above – hover on the icons and the name will display. You should then see the
practicerepository listed and you can click on the link to access it: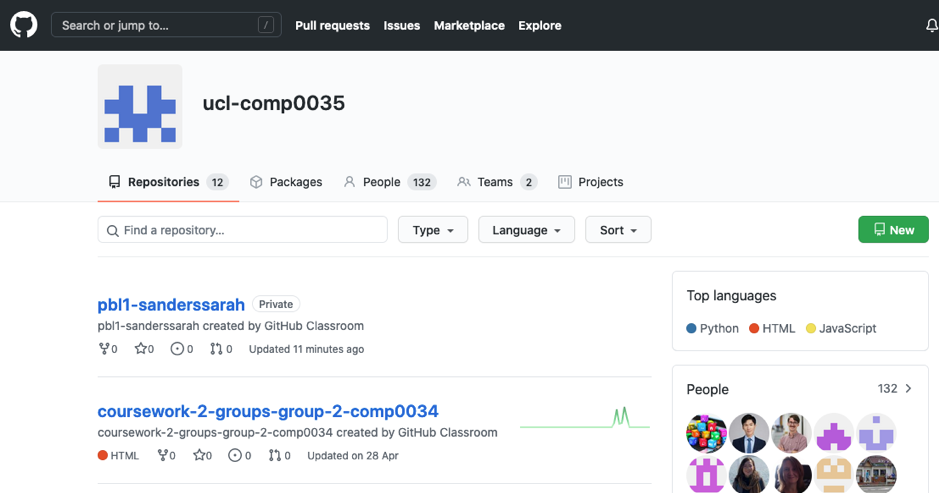
Edit a file directly in GitHub
You will usually create and edit files in a code editor, however you can do this directly in GitHub if you need/want to.
In this task you will edit two files that you should include for every repository that you create, README.md
and .gitignore.
Instructions
On GitHub, saved changes are called commits. Each commit has an associated commit message, which is a description explaining why a particular change was made. Commit messages capture the history of your changes so that other contributors can understand what you've done and why.
In this activity, to make a change you will open the file in editor, type/paste a change, and then 'commit' the change to apply the change to your repository.
You will make these change directly in the master (or main) branch of your repository. Once you start to work on your coursework you will be working on a local copy of the repository in your IDE instead which requires additional steps to make a change.
Edit .gitignore
A .gitignore file is used to tell Git (the underlying version control software that GitHub uses) which files should
not be tracked in the repository. For example, you don’t want to track configuration files that are specific to the code
editor or IDE (e.g. VS Code), particularly when collaborating with others in a repo, as each person is likely to have a
different local config (Windows v. Mac, file locations etc.). If you don’t exclude these files from GitHub, then you may
unintentionally cause problems for each other by overwriting each other’s IDE configuration when you commit and push
changes to the repo. You also don’t want to track common python files such as the virtual environment for your project.
In the two repositories you created earlier, the .gitignore was added directly in GitHub. You can also create it in
your IDE; further PyCharm and VS Code have plugins that you can add that will make it easier to create stanadrd
.gitgnore from templates.
- VS Code .gitignore extensions
- Pycharm create .gitignore or a third party plugin such as .ignore.
- Click on your 'hello-world' repo in your personal GitHub account to open it (if it isn't already open).
- Click on the
.gitignorefile in the files list and it should open. - In the upper right corner of the file view, click the pencil icon to open the file editor.
- Click on Commit changes....
- Add a commit message to explain what has been changed, e.g. "Added VSCode to .gitignore". Accept the other defaults, e.g. you will commit to the main branch which is selected.
- Click on Commit changes.
- Navigate back to your repository (click on the hyperlinked name of the repository just above the file editor area). You should now see the last change you made and the total number of other changes (if you had made any). You can click on the '1 commits' link to see the history of commits.
Edit README.md
README.md tells other developers important information about your repo such as what the repo contains, any set-up
instructions etc. You need to edit this for your coursework to explain to the markers anything they need to know to
set-up and run your code.
.md means it is a markdown format. Markdown is widely used for documentation of code. It is not difficult to learn,
you just need a few basic syntax rules. Refer to
the GitHub markdown guide
.
-
Navigate to the 'practice' repository on in the 'ucl-comp0035' organisation.
-
Follow the steps given above for editing the
gitignoreto open theREADME.mdin the online editor. -
Make some changes:
- Change the first level heading from "comp0035-practice" to "Practice".
- Add a second level heading e.g. "Introduction"
- Add a line of text e.g. "This repository is for learning to use GitHub"
# A level 1 heading

## A level 2 heading

Some text
- Commit the changes.
Create a file directly in GitHub
While you will mostly create files in your IDE, you can also create files directly in GitHub.
In either the practice or the hello-world repository, create a new Python file called hello.py.
-
From the list of repositories click on the name of the repository. This lists the file within it.
-
Click on 'Add file' and select 'Create new file'
-
Enter the file name in the box, e.g.
hello.py
-
Add some code to the file, e.g.
print("hello") -
Click 'Commit changes'
-
Complete the commit change form by adding a commit message and then click 'Commit changes'.
You should now see the Python file you created listed in the repository contents.
Integrate your IDE with your GitHub account
Most of the time you will be creating and editing files in your IDE and so you need to enable it to work with GitHub to manage your code.
You will be adding authorisation in GitHub to allow your IDE to access your GitHub account. It is likely to do this using a GitHub personal access token .
How you integrate your IDE with GitHub is specific to the particular IDE, so follow the relevant documentation to complete this:
Notes on VS Code
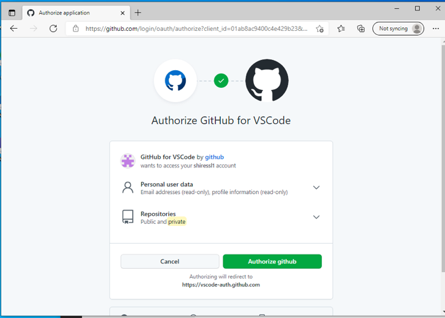
If you are prompted to authorise your IDE to access GitHub then please accept e.g. the following shows the screens you may see using VS Code:
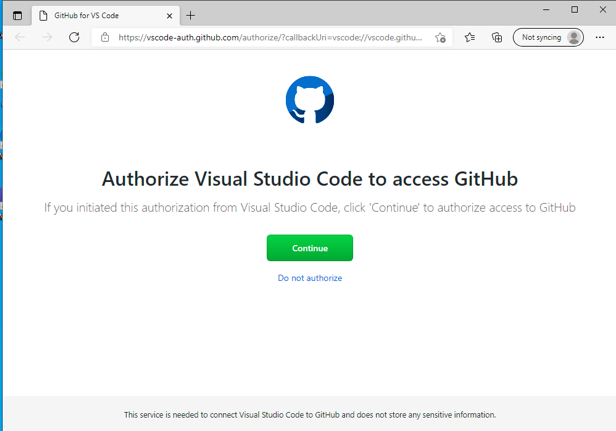
If you are not already logged in to GitHub you will be prompted to log in and then Authorise GitHub:
I experienced the following error message:

On repeating the steps I then accepted the following and was successful:
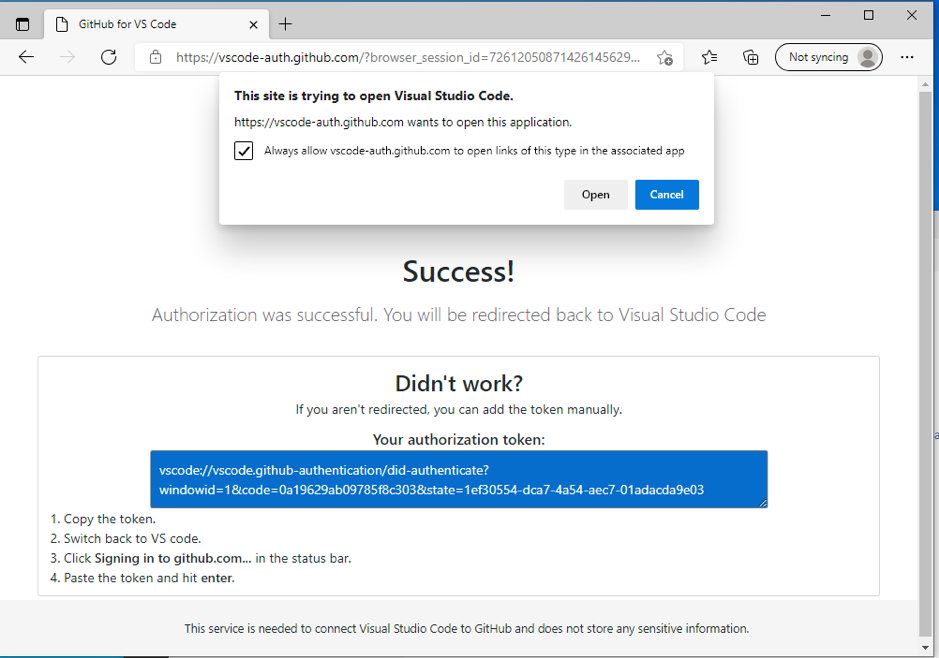
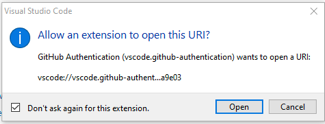
Select open if you get this:
The process automatically generated the token which you need to copy before closing this screen. Follow the 4 steps show in the image above:
- Copy the token
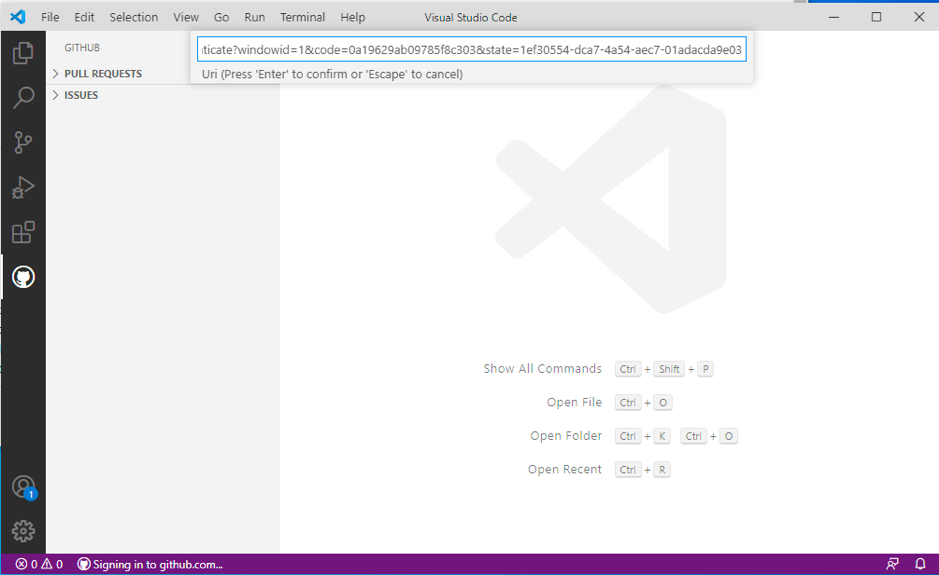
- Switch back to VS Code
- Click
Signining in to github.com…in the status bar - Paste the token and hit enter
VS Code Pull Requests and Issues extension
In VS Code you were asked to install the GitHub Pull Requests and Issues extension.
Pull requests are a mechanism when working with others to tell them about changes you pushed to a branch so others can review your changes before the branch is merged to the main, or base, branch.
Working with branches is covered briefly in a later section, branches.
Create a clone of a repository in your IDE
When you create a repository on GitHub.com, it exists as a remote repository. You have seen that you can edit files directly on GitHub however this is not recommended as you will miss the benefits of an IDE such as auto-complete, error checking and code AI.
Instead, you will clone a repository . This creates a local copy of the repository on your computer. You then need to sync between the two locations.
Instructions
This varies by IDE.
If you have integrated your IDE and GitHub you should be able to follow the IDE's instructions and enter the repository name by entering the owner and the repository name e.g.
ucl-comp0035/comp0035-practiceyourusername/hello-world
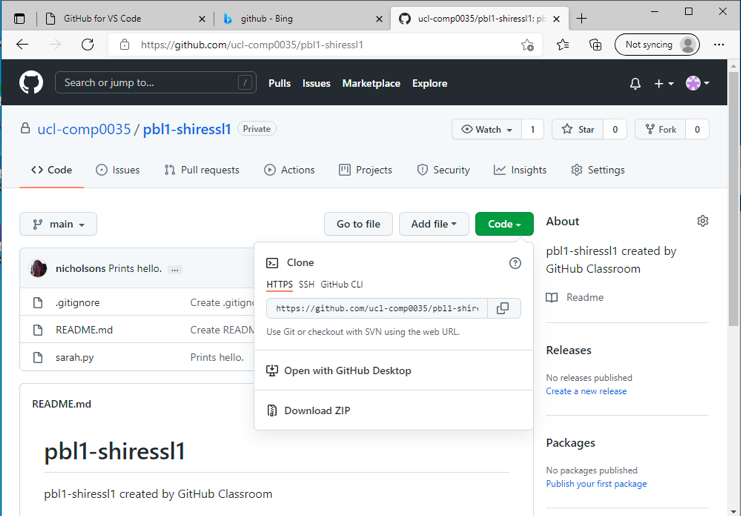
If you have not been able to integrate, you may need to find the URL of the repository. To do this:
-
In GitHub copy the URL for the repository. To do this, open either your 'practice' or your 'hello-world' repository, select Code and then copy the URL to the clipboard.
Follow the guidance for your IDE to clone either the 'practice' or the 'hello-world repository'.
-
PyCharm documentation . If you have already completed the steps to integrate PyCharm with GitHub then you may not need to complete step 3 in the instructions.
-
VS Code documentation. In some repositories on GitHub you may see an 'Open in Visual Studio Code' blue button that you can use that to clone the repository.
Make a change and push it to the remote repository
Currently, you have a local copy (clone) of the remote master repository.
We have not created any branches, so you will be working in the 'main' branch.
In this activity you will:
- Create a new file in your IDE in the local clone of the repository
- Add the file to be tracked by git
- Create a 'commit' with the changes
- 'push' the commit to your remote GitHub repository
Instructions
The following is for VS Code:
-
Create a text file in your IDE. There are different ways to do this (e.g. File > New). In VS Code the following used the icon (a page with a + symbol) below and entered the filename as
temp.py: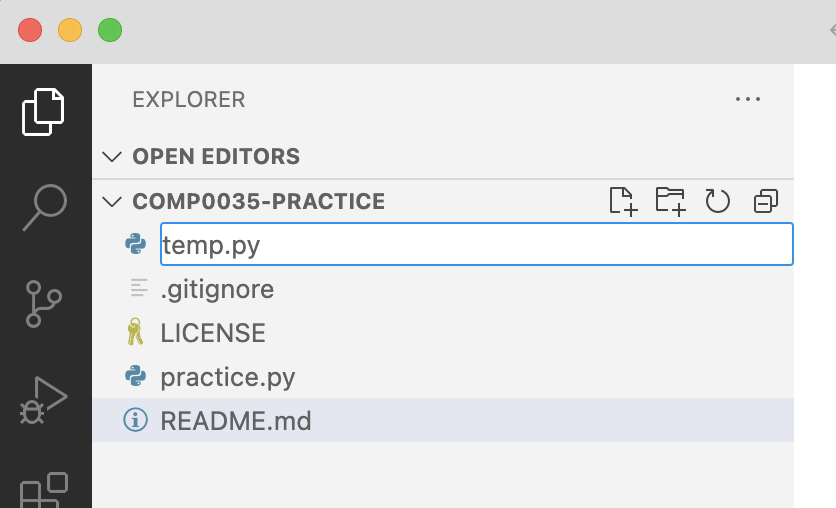
-
Add a line of code to the file. VS Code editing code
e.g.
print("this is a temporary file")NOTE: You will not be able to run the file as we have not set a Python environment for the project. This is covered next week.
-
To add the file to be tracked by source code:
- PyCharm
- VSCode: Find the source code control icon in the left menu bar and expand the Changes section
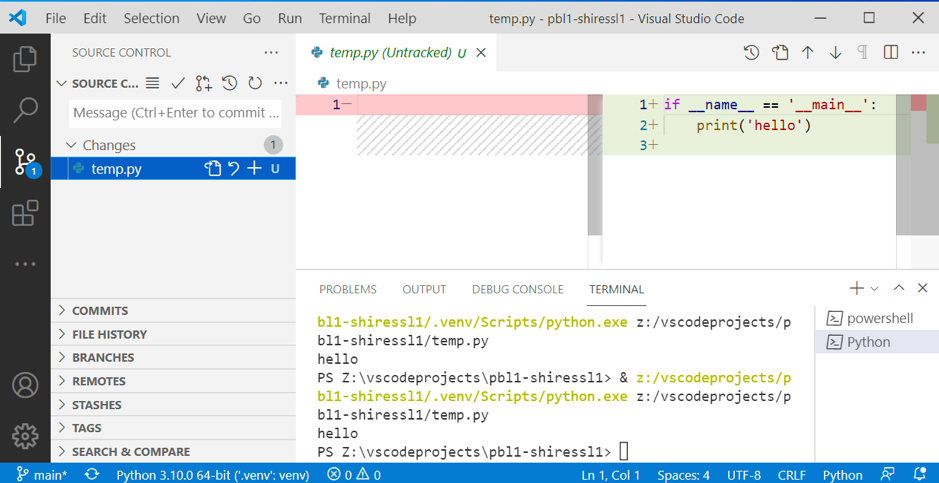
-
To add the file to be tracked select the + symbol next from the icons to the right of the file name which will stage the changes (this adds the file and starts the commit step).
-
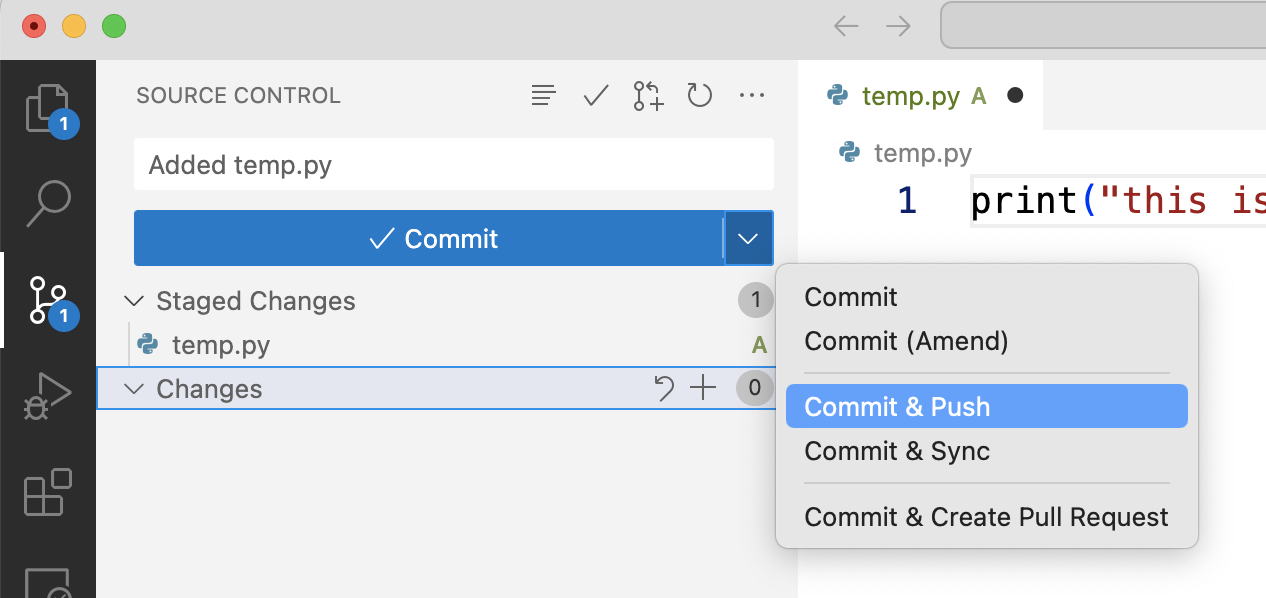
Add a commit message (see the Message box under the Source Control heading in the image below) and press the drop down arrow at the edge of the blue 'Commit' button and select 'Commit and Push'.
Previously some students got an error message warning that you need to set your username and email. If this happens then follow the instructions here . You can then sync with GitHub which carries out a pull and a push.
 Synchronise is also available using the circular arrow icon show in the bottom left of the image below:
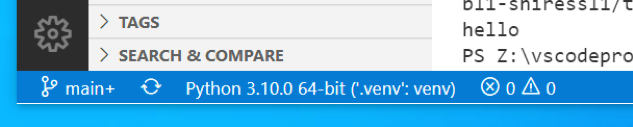
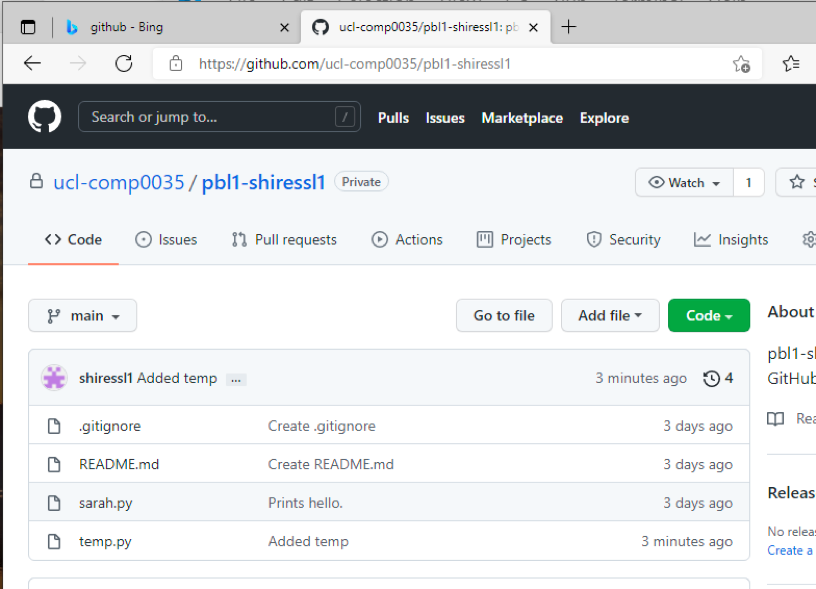
-
You should now see the changes in GitHub with your commit message (e.g. 'Added temp' in the image below):
For PyCharm, the approach is the same but the instructions for the steps is different:
- Create a Python file (e.g. File > New) and give it a name.
- Add Python code to the file
- Add the new file to be tracked by Git
- Commit and push changes
Pull changes from GitHub
This is necessary for groups and will be needed by individuals if you edit files from another IDE or directly on GitHub.
To simulate this, go to your repository on GitHub.com and add a new file to the repository e.g. call it 'dummy.txt' and add a single line of text. You learned this in an earlier activity.
Switch back to your IDE.
Now pull the changes from GitHub to the local repository in the IDE:
You should now see the 'dummy.txt' file in your local repository as well.
Next steps
Once you have mastered the basic 'edit > add > commit > pull > push' workflow, there are other features you should explore.
Merge conflicts
This is likely to be necessary for groups and may be needed for individuals.
Merge conflicts can, and will, arise when two people edit the same line of code. This is called a merge conflict. To resolve it you will need to decide whose version of the line, or lines, of code to keep.
The guidance for how to do this is specific to each IDE:
Branches
You do not have to work with branches in this course (though it may be advisable for groups).
The idea is that you only ever have production ready code in the 'main' branch and that to make a change you first create a branch and then work with that branch. This way your 'main' branch always has working code than can be deployed; while in the branches you can develop changes or add new features which may not always be working.
To make changes such as adding a new feature, you would first create a new branch and then later once the changes are complete, merge that branch back to the main branch.
You can create the branches in your IDE or directly on GitHub.
Once you have created a branch then you need to make sure you switch to working on that branch until such time as you decide to merge the branch back into the main.
Pull requests
Pull requests let you tell others about changes you've pushed to a branch in a repository on GitHub. Once a pull request is opened, you can discuss and review the potential changes with collaborators and add follow-up commits before your changes are merged into the base branch.
Sources of information
- Python Packaging.
- Cloning a repository - VS Code
- Check out a project (clone) - PyCharm
- GitHub README.md
- GitHub documentation
- Freecodecamp Git and GitHub playlist - not specific to VS Code
- GitHub and VS Code playlist
- Video showing how to create a new project on GitHub from an existing code project in VS Code